You’ve booked that dream holiday, got the perfect camera to help you capture all those amazing views and now you’re ready to embark on your trip of a lifetime.
But before you go, how confident are you in getting the best photos of your trip?
We’ve all had those experiences where we’ve just missed the whale coming out of the water, or cut off a beautiful sky or missed a key landmark.
And sometimes, quite simply, the vista in the photo doesn’t look nearly as good as it looked in person.
Cameras only capture a fraction of what your eye can see, so some of the photos you see that appear to have captured amazing colours have been amplified in photoshop after the was taken.
But there are some things you can do to ensure your photos are the best the subject matter and camera can offer – even if you don’t want to go to the effort and expense of using a Digital SLR.
So before you go on your next trip, we’ve gathered some basic tips to help you get the best travel photos
Before you even start, check your camera settings. Unless you’re an avid photographer (in which case you know all this anyway and can move on to one of our other blog posts), you probably want to keep things as simple as possible.
Most cameras have automatic settings, but even simple things like setting the camera to action, portrait or scenery can help improve your images.
Don’t just point and shoot, move the camera around, seeing how the scene looks from different angles, sometimes moving slightly one way will add a tree branch or a tree, completely changing the scene in front of you for the better.
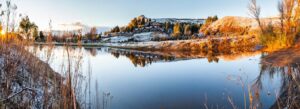
Every picture needs a hero; something that really stands out and that immediately attracts the eye. This is why photos taken from viewing platforms of mountain or valley views often disappoint in a photo compared with the real view – the image looks flat, there is nothing that stands out.

Look for a focal point – a nearby hanging tree that can frame the scene, a sign post or have someone stand in front of the view.
Think about where the light is coming from. You can’t change the angle of the sun but you can move around to make sure it’s in the best position to capture the view, or wait a few minutes for it to move through its cycle. How often have you watched a sunrise or sunset and thought this looks amazing only to have the sun move slightly and change the colours completely?
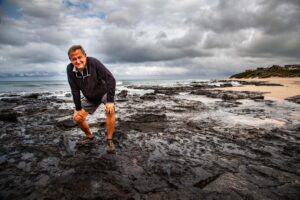
Add a person to give perspective and a human element to the image. There are times you don’t want anyone in your picture, but sometimes adding a person to a path or against a mountainous terrain can help give perspective to the image.

Don’t just assume it’s ok to take someone’s photo when you’re overseas. Would you like to have your picture taken by a complete stranger while working or simply going about your day?
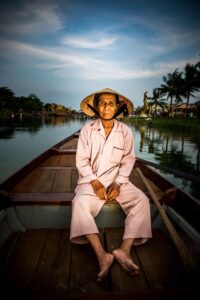
Many people are fine with it, but always ask. Sometimes the “model” will expect something in return, a small tip. If the photo is worth it to you, and often they will be among your best images, it might be worth handing over a dollar or two.
Two’s a Crowd tour host and photographer Adrian Duncan once took a boat trip in Hoi An just so he could pay his subjects to be photographed for a few minutes. The photos he got made it worth the effort.
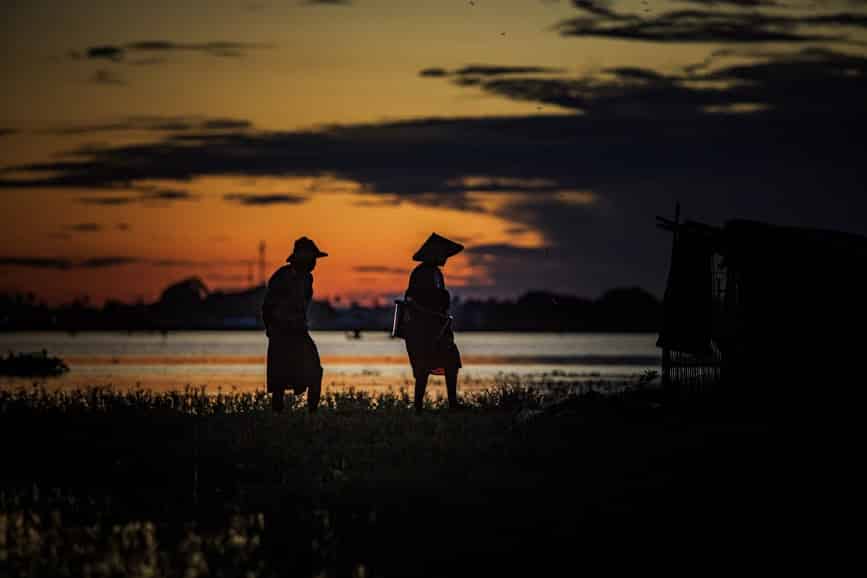
Think about heading out early to catch the morning light. The lighting at the beginning and end of the day is a lot softer so you’ll get far better results. You’ll also often have the place to yourself so can get beautiful images of iconic locations that are so often packed with tourists.

Go at sunrise and/or sunset. It goes without saying that mother nature often puts on an amazing display at these times, well worth capturing if you can.
You might have heard about the rule of thirds, basically it means picturing the image in front of you as being divided by two evenly spaced lines horizontally and vertically, thus dividing the image into nine smaller squares. Your goal is to try and place key elements within the image where these lines intersect. Also attempt to place the horizon on one of the horizontal lines (so it is about one third from the top or bottom of the frame). Don’t split the image in half, instead place key objects using the thirds to focus key components of the image.

Look up. Don’t just look at what’s in front of you, look up and around you to try and get a different perspective. Sometimes a view looking up through the skyscrapers in a major city, or through trees in a forest, can look amazing.
Practice before you leave home. Head out to an area that has a similar environment to the one you will be travelling to, ie a zoo if you’re going on safari, the city if you’ll be wandering through villages or a park if you’re heading into the mountains. You’ll get to practice your thirds, identifying the key components and capturing the lighting.
Happy snapping!
Diane Squires is a tour host with Two’s a Crowd
Photos by Two’s a Crowd tour host Adrian Duncan


